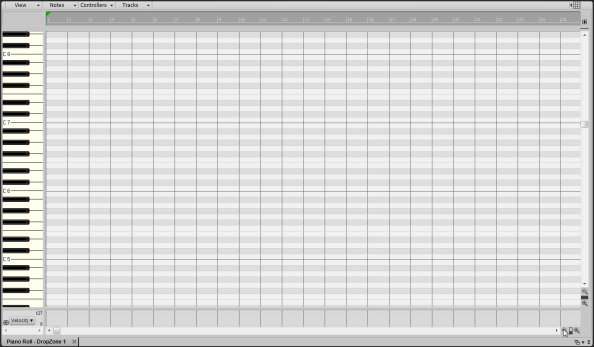
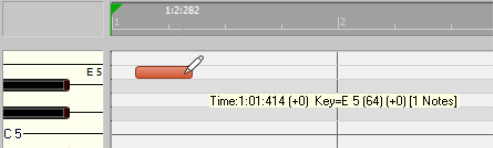
Using this method, you can manually draw notes on a grid called the Piano Roll view (often referred to as the PRV). This is the preferred method if you're not much of a keyboard player or don't have access to a MIDI controller. It allows you to edit every detail of a performance.
To get to the PRV, you first need to select the track you would like to see in it. Simply click the track icon once so that it changes color. Next, go to Views > Piano Roll View to open the PRV. The PRV opens in the MultiDock below the Track view. To expand the MultiDock, double-click the PRV tab in the MultiDock, or press SHIFT+D.
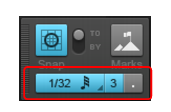
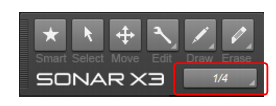
Try to create a melody using this technique. You can create notes of any duration. If you want 32nd notes or triplets, specify the desired Musical Time resolution in the Control Bar’s Snap module.
If you press Play, you are not likely to hear anything. That's because this project does not contain a software synth for the MIDI tracks to play through. Since there are 11 tracks in this project, it would be best to use one synth track and route them all to the same instrument. Some instruments, such as the Cakewalk TTS-1 can output more than one type of sound. These instruments are known as
multi-timbral synths. They know what notes are played through each sound based on the MIDI channel they are sent over. If you examine each track in this project in the Track Inspector or Console view, you'll notice that each one is set to its own channel. No two tracks share the same channel.
Press Play to play back the project. If you'd like to add your own track to play through the TTS-1, click
Insert menu and select
MIDI Track. On your new MIDI track, set the output to
Cakewalk TTS-1. Remember, it needs to be on its own discreet MIDI channel. In this project, MIDI channels 1-11 are already used, so let's assign this track to channel 12 in the Track Inspector or Console view. You can also select the sound via the track's Patch control. Then use one of the methods described above to create MIDI data. You can also add MIDI data to your new track from the Browser. See Tutorial 2 for details about the Browser. Another option is using the Staff view as an alternative to the Piano Roll view. That will be covered in the next tutorial: Tutorial 5 - Working with music notation.